What Exactly is 3D Modeling?
Understanding 3D Modeling For Beginners
3D Modeling Concepts can be overwhelming especially when you don't have a structured way of studying. This blog is a short guide to help you understand 3D modeling

At its simplest, 3D modeling is Digital Origami combined with Virtual Clay.
In the 2D world, you have height and width. In 3D, we add depth. You are essentially building a digital "shell" or "skin" that can be viewed from any angle, lit like a real object, and even 3D printed into something you can hold.
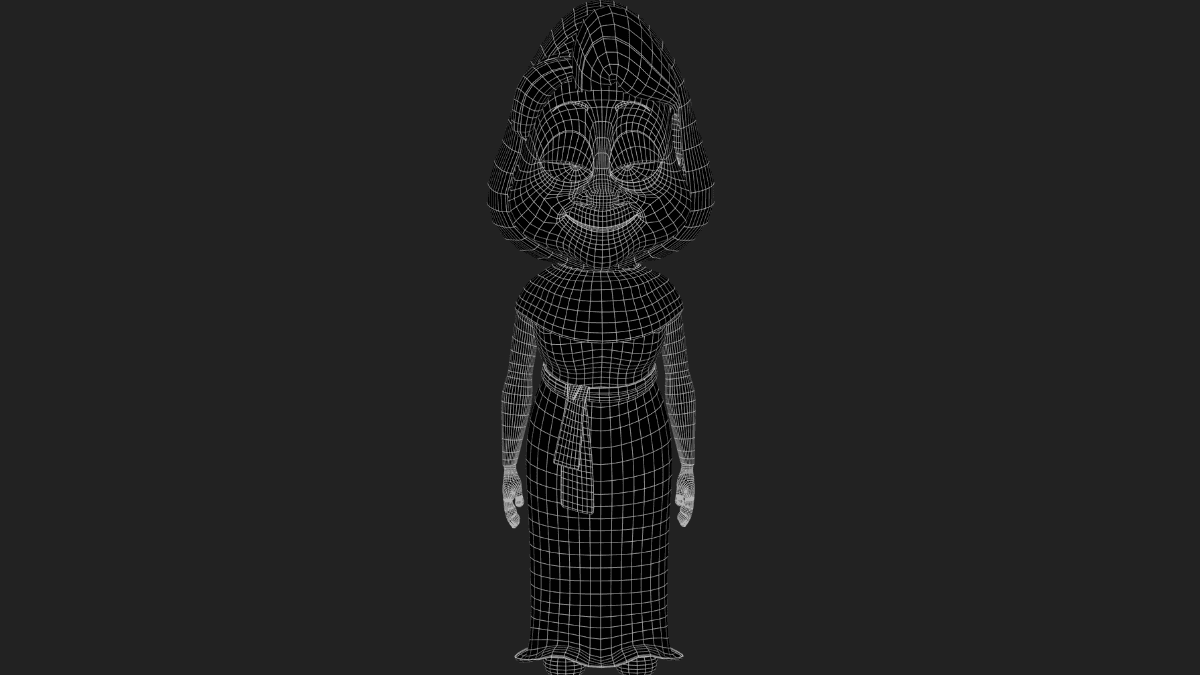
The "Skeleton" (The Mesh)
Every 3D object is hollow. It is made of a structure called a Mesh. Think of it as a net made of:
Vertices (The Dots): The individual points in space.
Edges (The Strings): The lines connecting those dots.
Faces (The Surfaces): The flat panels that fill the gaps between lines.
When you move a single "dot," the lines and surfaces attached to it stretch and move too. By manipulating thousands of these, you create everything from a simple coffee mug to a complex hero character.
Two Ways to Build Your Vision
Depending on what you want to create, you’ll usually choose one of two paths:
The "Poly Modeling" Method (Precision)
Imagine starting with a cardboard box. You pull out the sides, scale them down, and cut holes. This is Hard-Surface Modeling. It’s perfect for the "techy" side of things—like designing the weapon or a futuristic vehicle or houses/environment.
The "Clay/Sculpting" Method (Organic)
This is Digital Sculpting. You start with a ball of digital clay and use virtual brushes to "pull" out ears, "carve" in eyes, or "smooth" out skin. If you’re bringing characters to life for a story or a comic, this is where the magic happens.
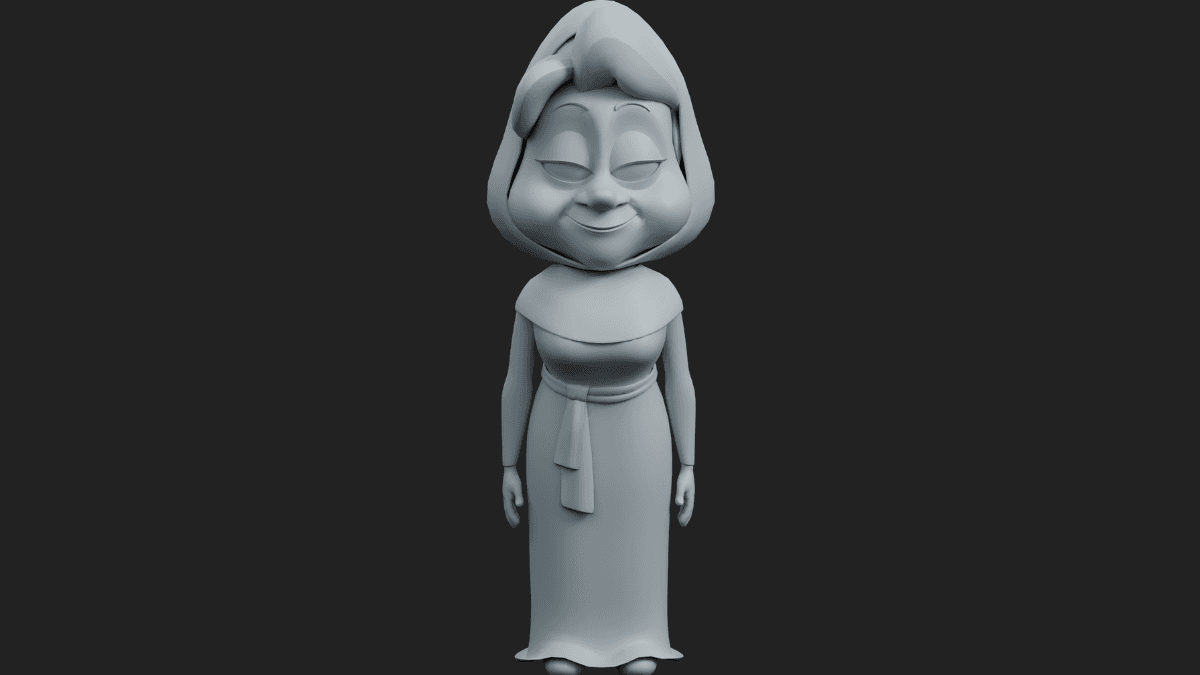
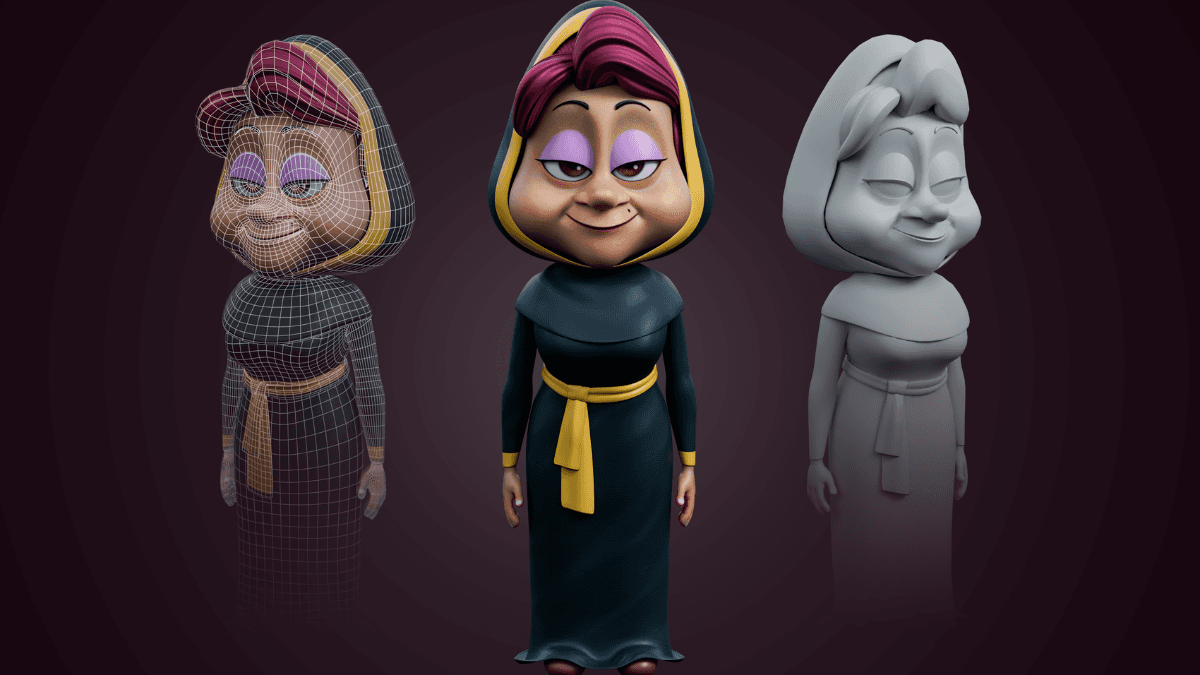
From Gray Shape to Final Render
A model isn't finished just because the shape is done. To make it look "real," we follow three final steps:
Texturing: Wrapping your model in digital wallpaper (making metal look shiny or fabric look soft).
Lighting: Placing virtual lamps to create shadows and highlights.
Rendering: Letting the computer "take a photo" of your 3D scene to produce the final image.
To get hands-on practical training and portfolio building support, contact Gamemesh Academy. Whether you're looking to add 3D to your professional toolkit or just want to see your characters in a new dimension, we’re here to help you bridge the gap.